|
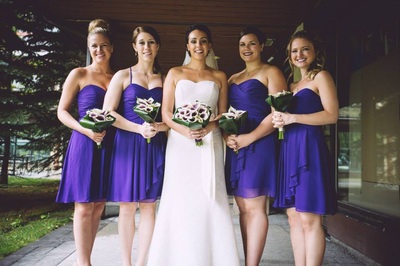
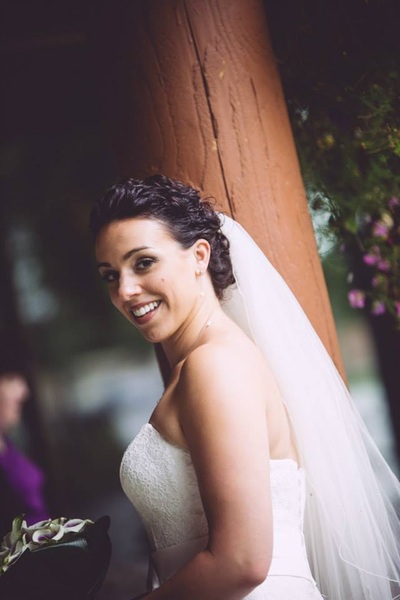
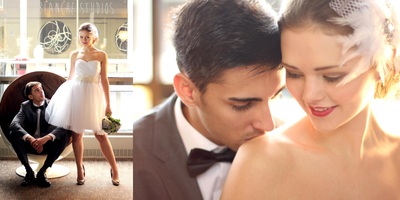
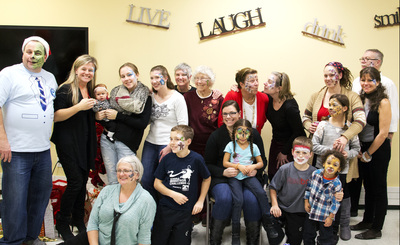
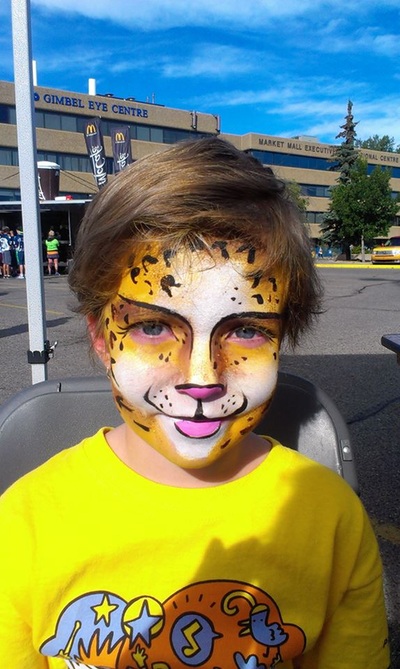
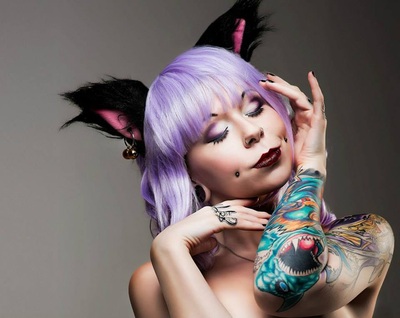
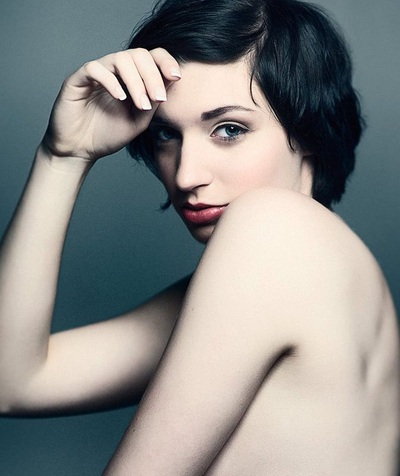
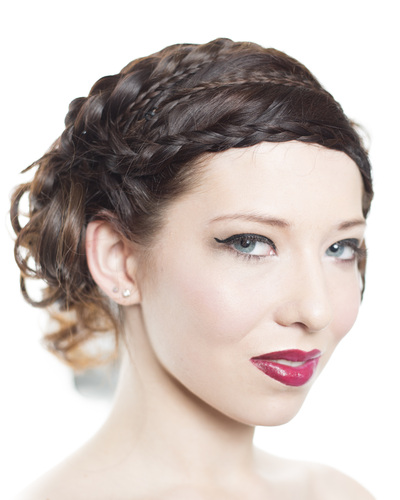
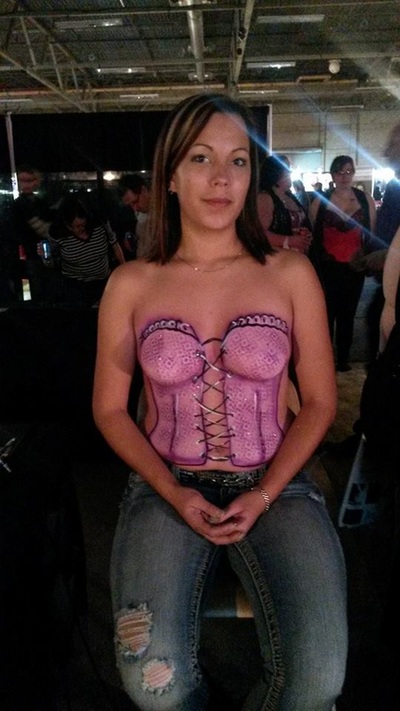
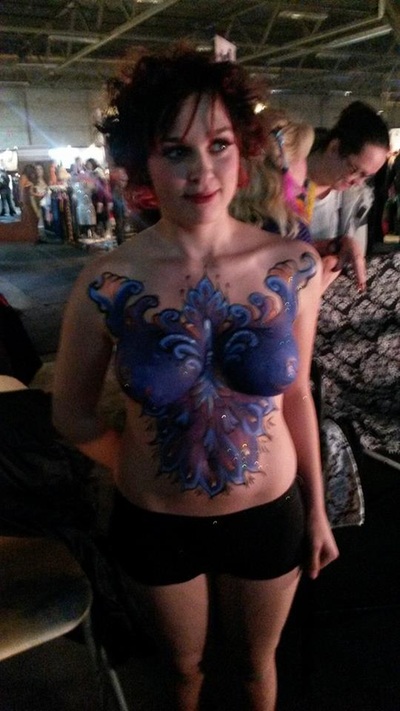
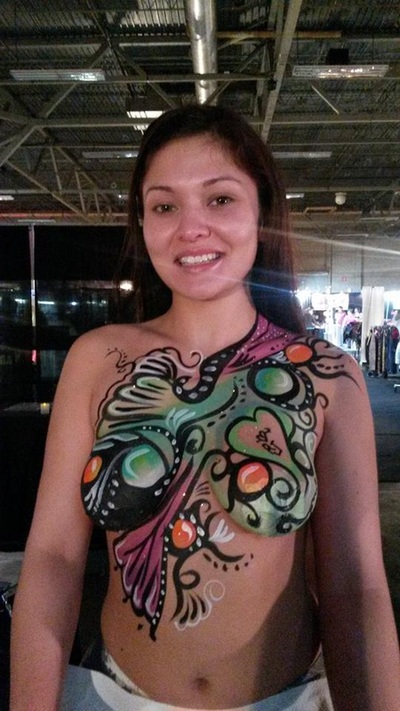
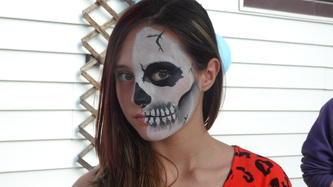
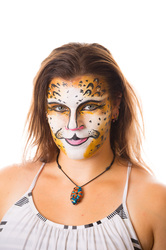
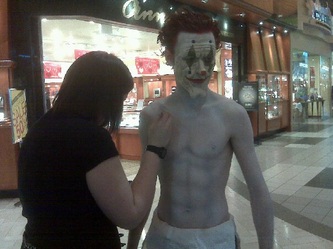
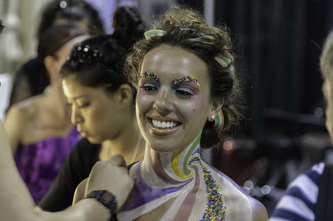
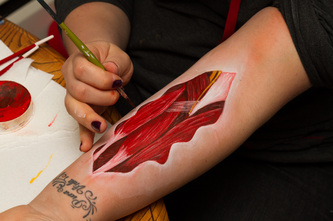
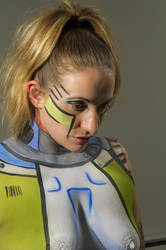
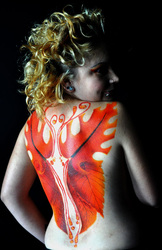
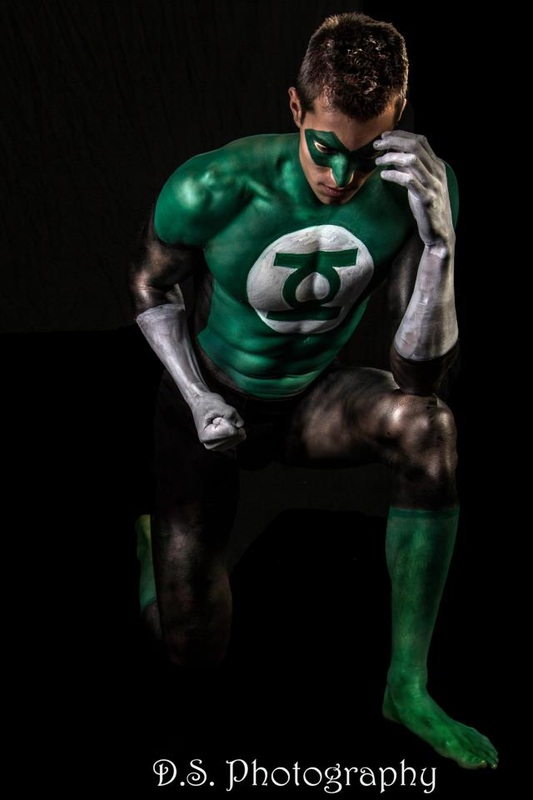
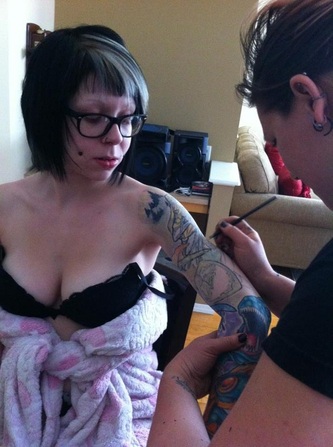
Well it is now a week into January 2014 and it seems like a good point for a year in review for 2013. This was an exciting year with a lot of great projects. I would like to share with you a few of the highlights of my year. Starting with bridal. I did over 20 weddings this summer for hair and makeup. For many of them I don't have pictures but here are a few that I did get. Face painting Fashion & photography Extreme photo shoots Body paint at the Taboo show in Edmonton
1 Comment
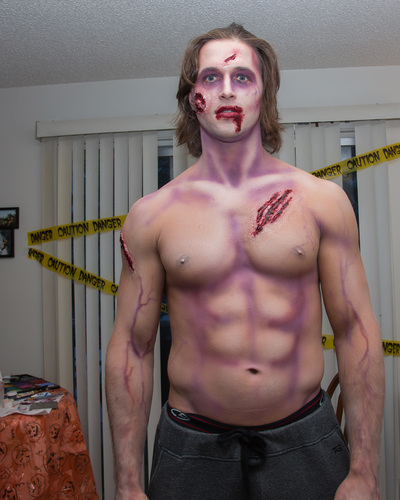
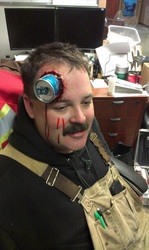
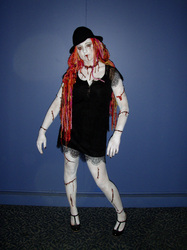
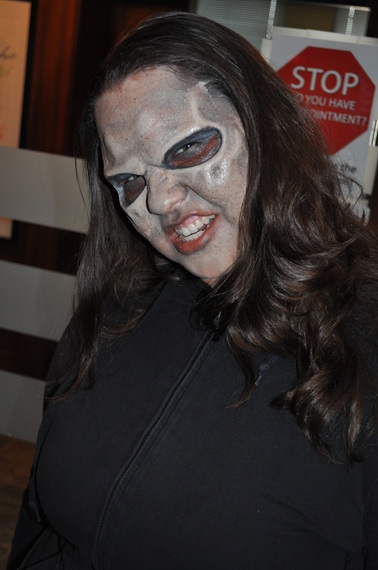
It is a bit late to be doing a Halloween post I know. But here we are I have been getting asked about what I did for Halloween so I have for you a few examples of the over 20 makeups I did over the week.
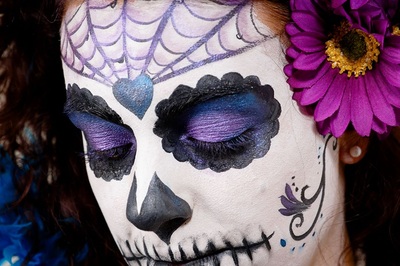
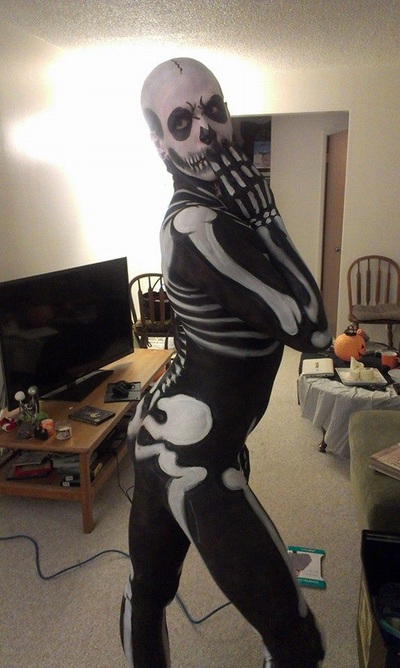
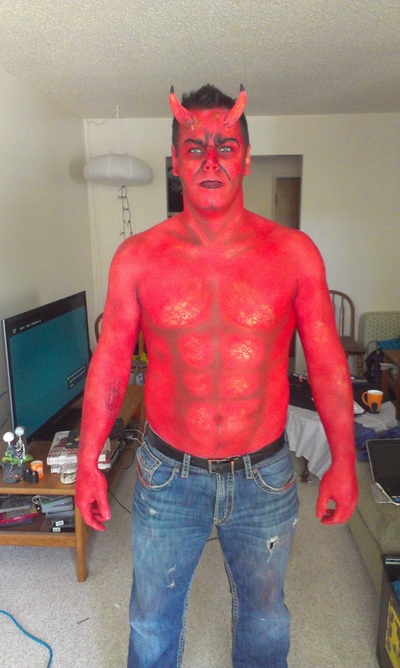
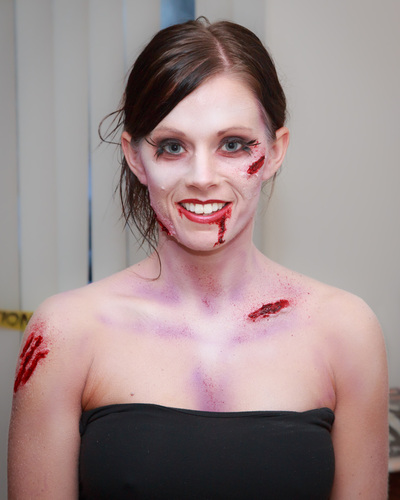
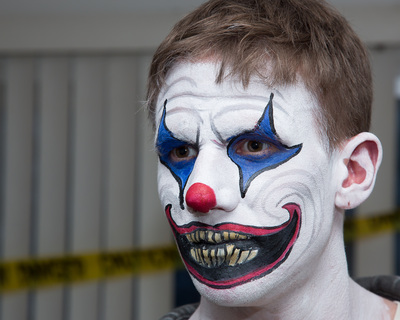
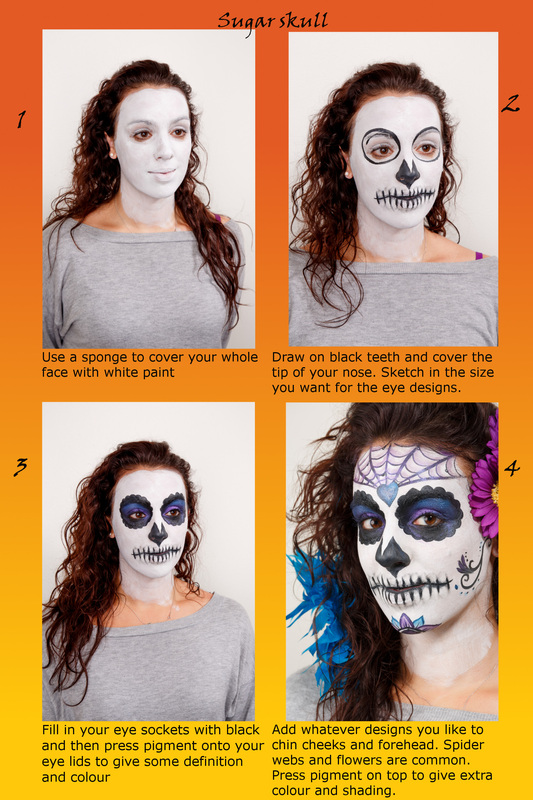
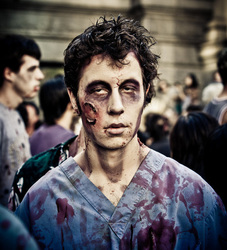
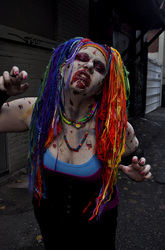
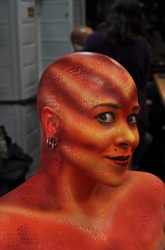
The list includes a broken doll, zombies, skeletons, devils, vampires, tigers and a creepy clown. Halloween is always one of my favorite times of year because it allows me to flex the special FX muscles as well as the body painting. I painted mostly faces, necks and hands but did 4 half and one full body paint. I also got to apply a few premade prosthetic pieces, build a few wounds and finished off the lot with one bald cap. I hope you like the results of last year. Don’t forget to book early to do something spectacular for next year. As promised it is another week and another makeup tutorialTo day we have a sugar skull. To do this makeup you should have a white face paint I recomend wolf FX or Kryolan and a sponge for the first step. For the rest of the makeup you will need a good black face paint or liquid eye liner and a thin brush. For the colours I would recommend using loose pigment. Pressed eye shadows will work as well but I find pigment to be a bit brighter over the black. Remember if you head over to my facebook page to like and share this picture you can win a makeup application worth 100$ from me. I hope you enjoy this one. Avatar Makeup tutorial Well as promised it is time to announce my Halloween contest Yay!
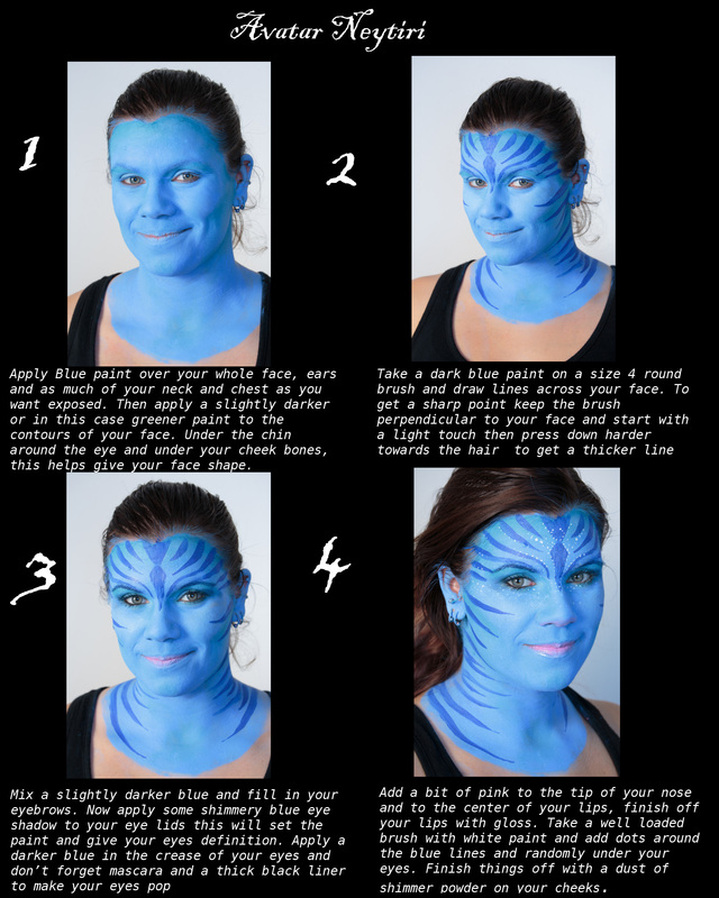
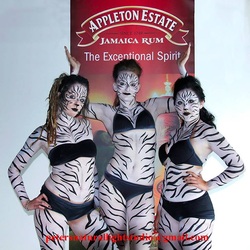
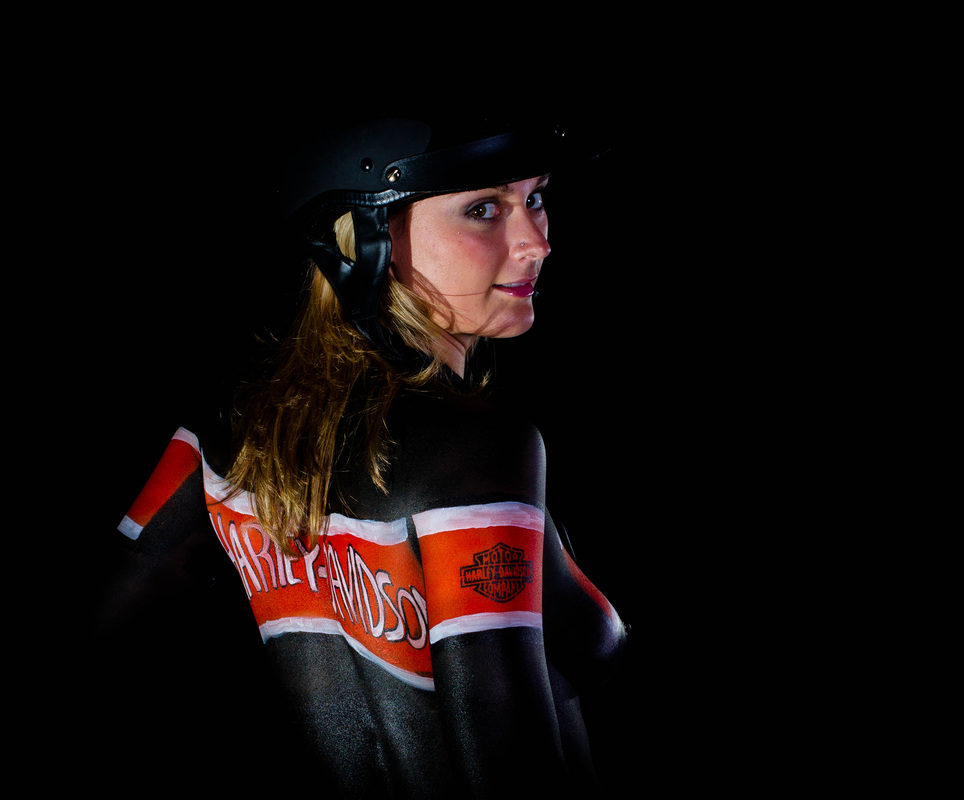
This is a facebook centered contest as so many are. If you go to my facebook page then Like and Share my tutorials for a chance to win 100$ worth of Halloween makeup done by me. This of course means you have to be reasonably close to Calgary. I will be putting up hopefully 5 tutorials and a like with a share on each will get you a total of 5 entry's into the draw. So keep checking back and good luck to you all. The draw will take place on the 22nd to ensure if you want your makeup done the weekend before Halloween for a party that this is an option. So without further ramblings here is the first Halloween makeup tutorial. Avatar Neytiri, Thank you to Anne for suggesting this one. Halloween Madness! As Halloween is drawing nearer I have decided to do a series of picture and maybe even if I can figure it out video tutorials. With my first post I will also be announcing my Halloween makeup contest so stay tuned. If you have any ideas or requests about what kind of makeup I should demo feel free to e-mail me or comment on this post. Here are a few pictures of past fx makeup and character face painting to get you thinking about what you want for Halloween. Body painting weather for a party or a photo shoot can be a great way to add something different into the mix. There are 2 main types of body painting. Your painter may prefer brush and sponge or airbrush painting. A skilled artist of either type will get you a beautiful result but as there are differences in the way paint is applied you will want to look at a portfolio to see their style before deciding who to book with. A few things to think about before booking a painter. 1) Make sure you like the art they have done in the past. If you don’t like anything you see in their book chances are you will not be as happy with the finished result 2) Ask what kind of paint they use. A professional artist will not hesitate to tell you. They should be using an FDA approved (often water or silicone based) body paint. Expect to pay upwards of 200$ for a skilled painter Now that you have booked your painter and you are thinking, This is going to be great! Now what?
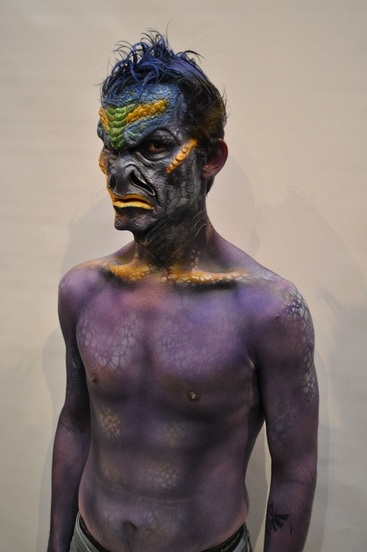
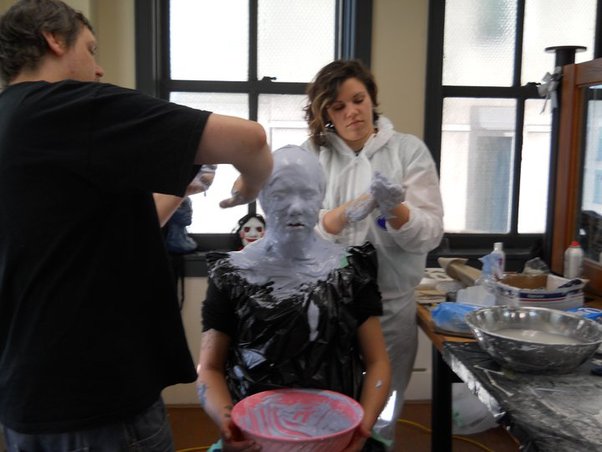
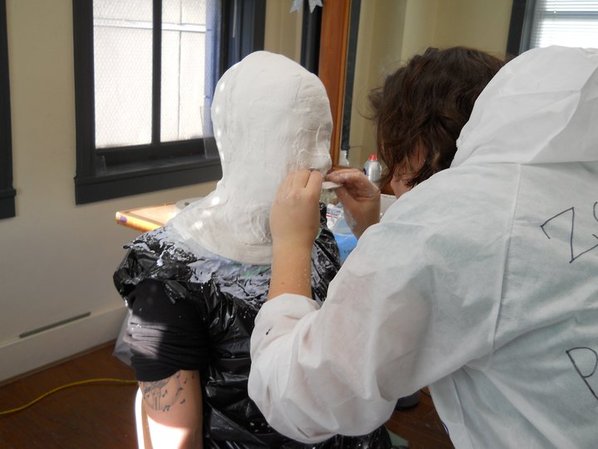
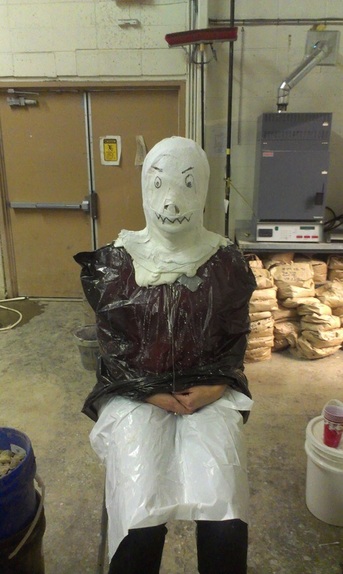
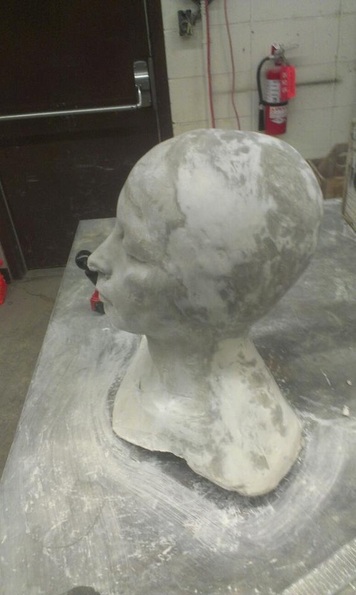
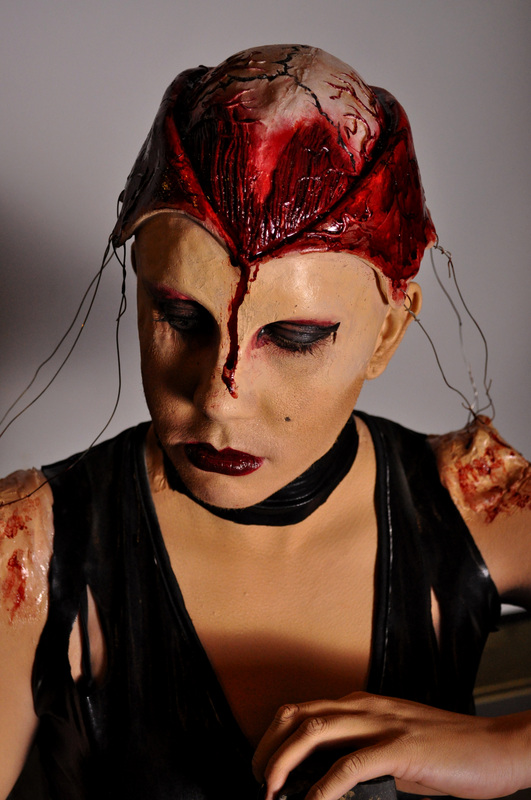
A few things to keep in mind before you go get painted 1) Get a good night sleep, you may be standing for several hours and it is more tiring than you expect 2) Drink enough water, This will help you feel better throughout the day and prevent fainting 3) Eat something. Eat before your appointment and if you feel you will need it bring a snack for a break during the painting, Depending on the complexity of the design you may be standing for several hours 4) Wear loose fitting clothing, any tight fitting bras or elastic waist bands can leave lines in your skin that make it difficult to paint until they go away. 5) Bring a robe, Useful to cover up with if you need to run out of the painting area before you are finished. 6) Bring a friend, family member or significant other. This will help you feel more comfortable without clothing in a room full of strangers. 7) Bring your favorite music. Most painters and photographers are happy to work to music and if your favorite tunes help you relax the final product will be even better 8) Do not hesitate to tell your painter if you feel like you need a break for any reason, nobody is going to be bothered by this and your painter will likely ask if you are alright a lot throughout the session, if you are not just say so. 9) Remember this is supposed to be fun so have a good time and play with it. Body painting can be a long process and seem at times to be a daunting task but with a skilled painter and a happy model you can achieve some amazing results. You may be asking what is a prosthetic makeup? It is a makeup technique that allows for significant and dramatic changes in face and body shape by gluing a sculpted piece to the skin. This allows for more complex characters to be developed. If you have seen a zombie, alien, cyborg or monster in a movie chances re there was a skilled FX artist behind it. When you are looking to have a prosthetic piece applied by an FX artist there are two options available to you. The first of these options is simpler, less expensive and more artists are equipped to do it for you. This method involves selecting a premade mass produced foam latex piece and having it applied blended, sealed and painted by your artist. An application like this will take around 2-4 hours to complete and will generally cost 200-500$ depending on the type of piece selected and what if any kinds of additional body or hand makeup are required to complete the look. A makeup application of this type allows you to make a last minute character for a lower price point. One downside is that as the pieces are “One size fits all” if you have a particularly large or small face the piece will not fit as well and may not be as comfortable. Secondly as the pieces are premade you can only chose from a limited selection of characters. This can make it more difficult to create exactly the character you are imagining. Some examples of premade prosthetic applications are shown below The second type of prosthetic makeup is a custom piece created from a cast of your body and individually sculpted for you by an artist. This process has many more steps and requires a greater investment of both time and money. The biggest benefits to a custom made piece are that you get a one of a kind piece made to fit you perfectly. Getting your own custom piece starts with meeting your artist to discuss your character design. At this point any reference pictures, descriptions or inspirations are useful to bring along. A second get together with your artist is required so a life cast can be made of your head or body. When preparing to be life cast make sure you remember the following things - The whole process can take up to 2 hours so make sure you schedule enough time - Wear a shirt with a low neck line so your clothing will not interfere with the cast - Remove any facial piercings - For men please come clean shaven - Eat something before hand and make sure you are well hydrated - Be sure to let your artist know if you are Closter phobic or unable to sit with your face covered for 15 minutes as the mold can be made in a few pieces so your head is never fully covered - Most importantly remember that if you are uncomfortable or unwell at ANY point let the artist know and they will take off the casting material as quickly as possible. The following are some pictures of the casting process and a finished head cast. After a cast is made your artist will the prosthetic, when it is near completion you will have the opportunity to see it an make any final adjustments. Finally a second cast is made, the clay is cleaned out and your piece can be created.
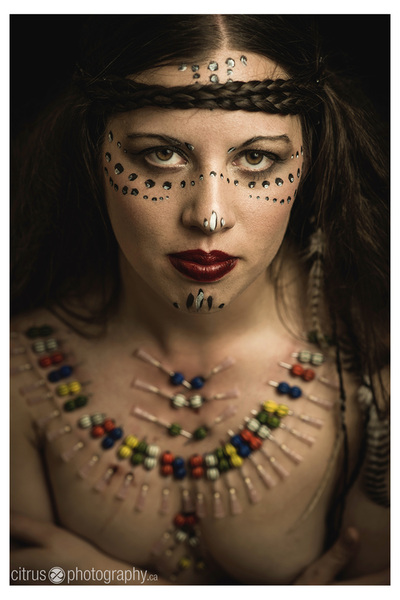
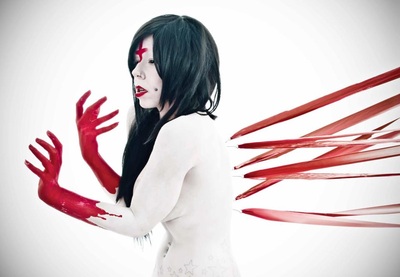
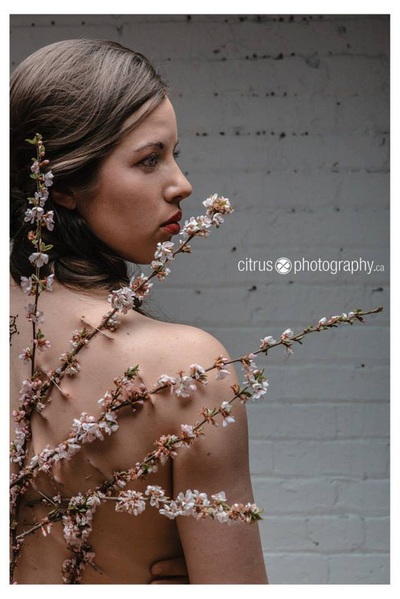
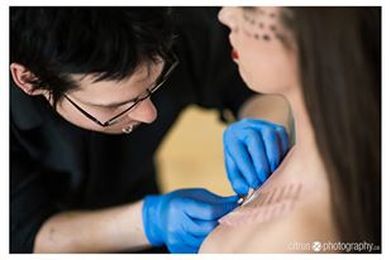
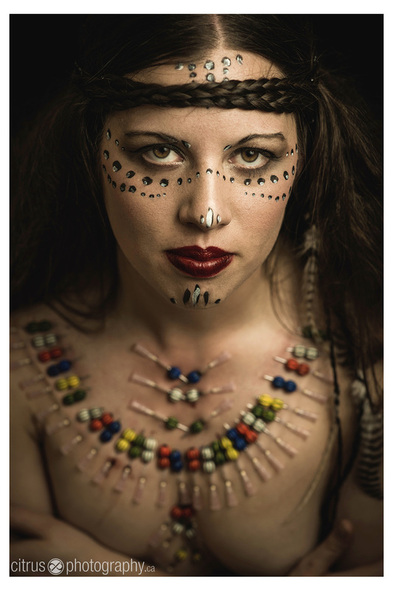
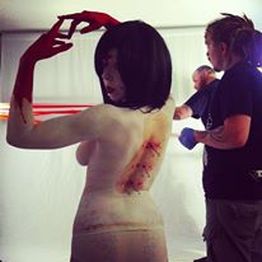
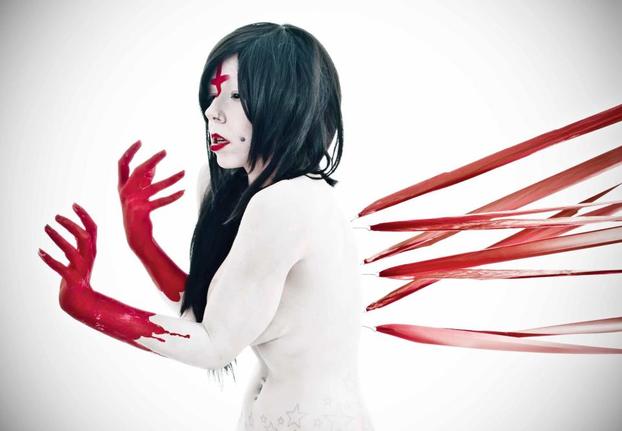
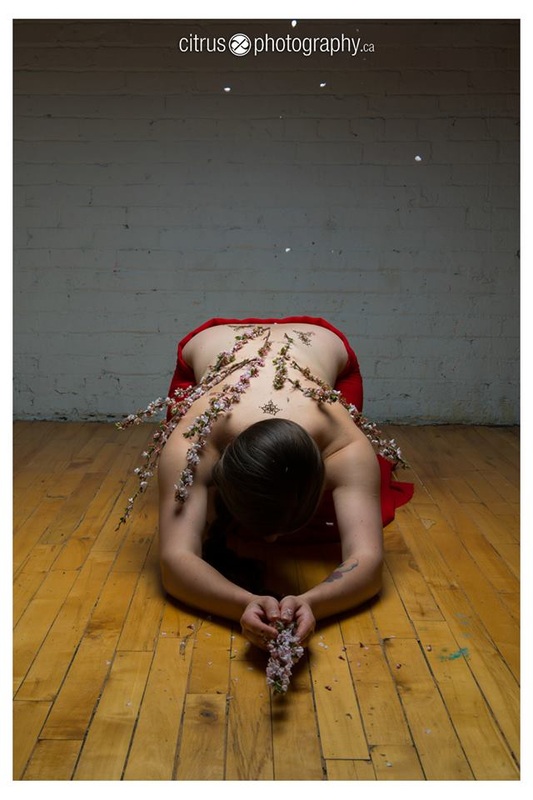
The final application process is the same as with a mass produced prosthetic and takes about the same amount of time. From first meeting till the piece is ready for application can take anywhere from 3-6 weeks depending on how busy the season is and how complicated a sculpt you require. Prosthetic pieces can be a great way to build an amazing character for Halloween, film or photo shoots. Keep in mind that there are significant time commitments needed to ensure you get the piece you want. If you plan accordingly you can have some amazing results. In the past month I have been involved with a few strange yet exciting photo shoots. While the concept in all three was very different they had an important point of similarity. All of them were play piercings. For those of you scratching your heads wondering what a play piercing is, it is a needle, hook or other tool is pierced through the skin for an event or experience rather than for permanent body jewelry. The first of these shoots was a tribal themed shoot. It was done with Tim Nguyen of Citris Photography, Errin Amanda Ricketts as our model and Valon Oddity did the piercings. In this shoot the makeup was done first so the model could spend a minimum amount of time with the 39 needles in her chest. In the below picture you can see the piercing in progress. A tribal look was the final result In the second shoot I took part in we did something a little bit different. The concept for this one involved a flesh pull. Where the previous shoot used small needles this one utilized large hooks that are often used for suspensions. The first task of the day was to apply corrective makeup and concealer over a number of large tattoos on our model LilMissPUKEfce. After that she was painted white and red from the hips up Following a full paint job her back was cleaned off and the hooks put in by our piercers Doug Smode and Matt of The RISE: Calgary Division For the most recent shoot the theme of cherry blossoms came into things again. Once more with the team at citrus we created a look using play piercing needles to stick cherry tree branches to our models back.
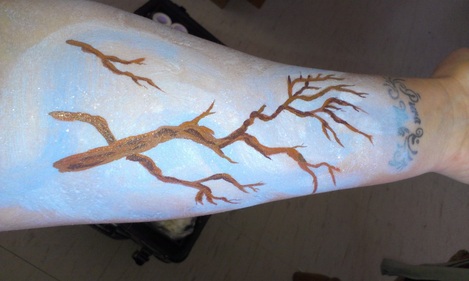
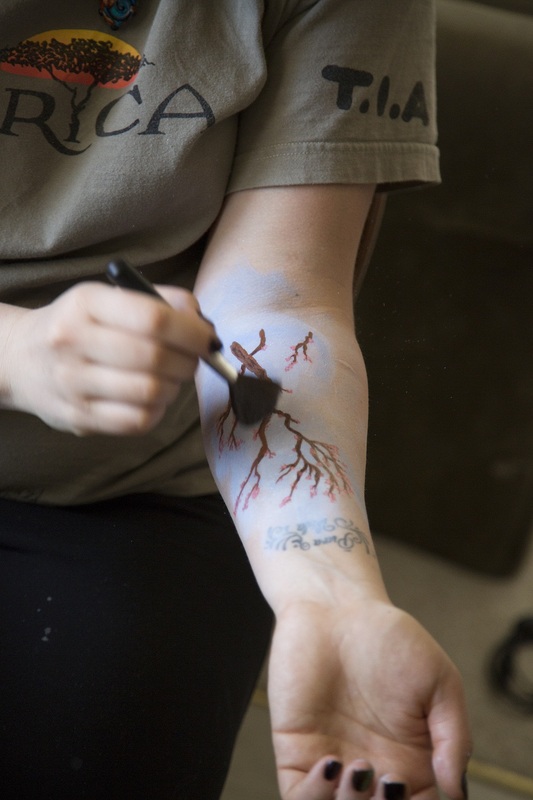
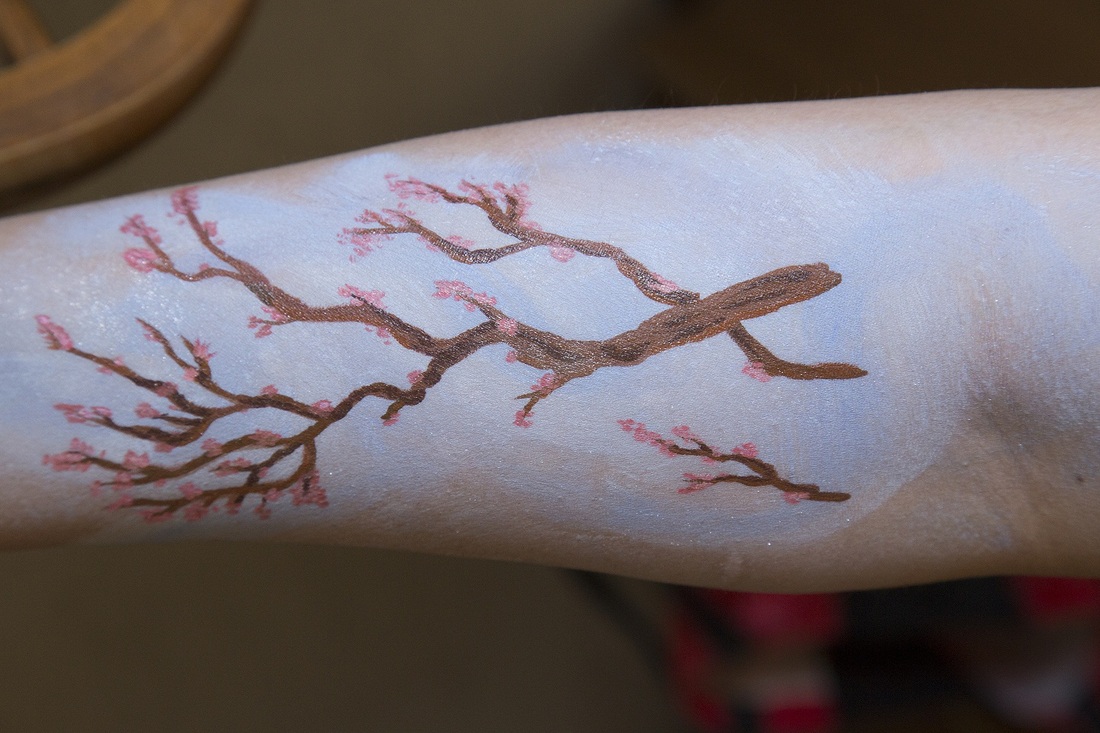
Ahh finally after a few false starts the spring is truly here. With almost summer like weather. With that in mind and because I have cherry blossoms on the brain I decided to paint my arm with a cherry blossom theme. In the beginning I used blue and white to create a swirly back drop that I dusted with glitter. There is no picture because I forgot to take one >.< After the blue sky I started to paint branches. Nothing too crazy just some simple lines and happy little twigs. I was happy with how it turned out. It looked to me like a winter tree. However it is not winter! it is spring. :) and so it was happy little flower time. After some pink and white flower application it was finished and I have a super fun spring design on my arm.
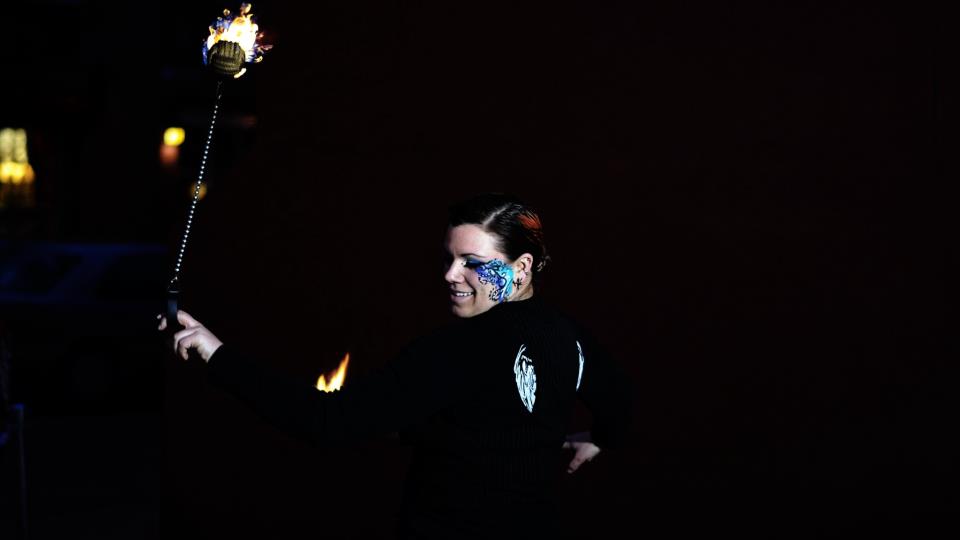
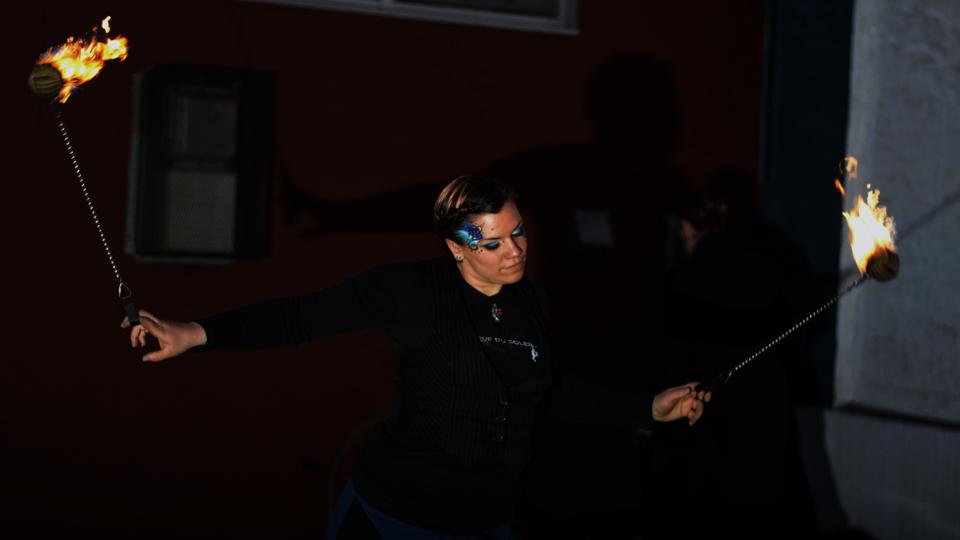
Well it is blog time and I find myself woefully without a photographer. So instead of continuing a look at spring I will give you a picture of me fire spinning with FireStorm at BasBuss screening of a Bloom film. It was a fun night and I did get to break out the face paint and put something fun on my face for it. I will give you the next installment of spring makeup trends next week and we will look at adding this seasons blue and green colours to your eye shadow .
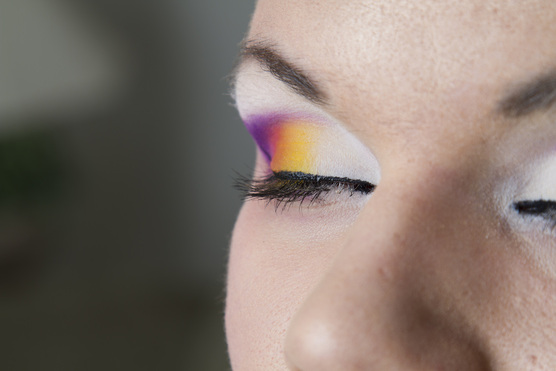
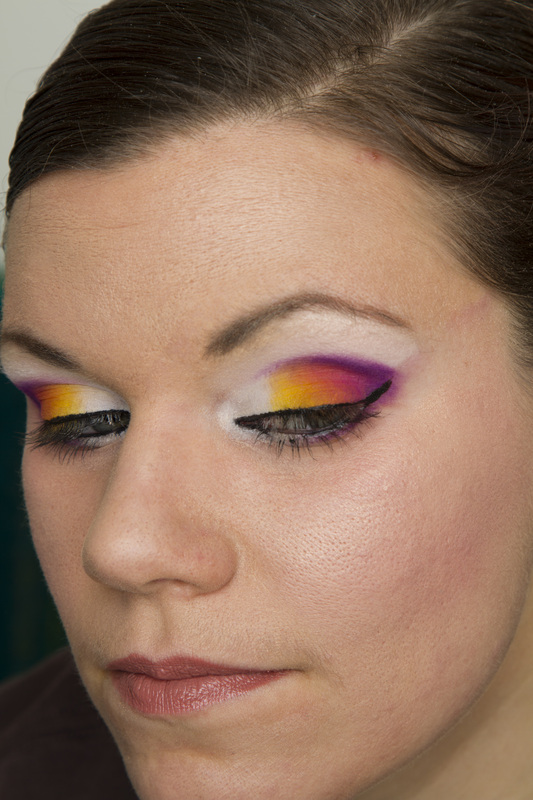
But first here is my fun Easter makeup that I put together a few days ago while my photographer was still around. |
Details
Tracy Falukozi
Archives
November 2014
Categories
All
|

 RSS Feed