|
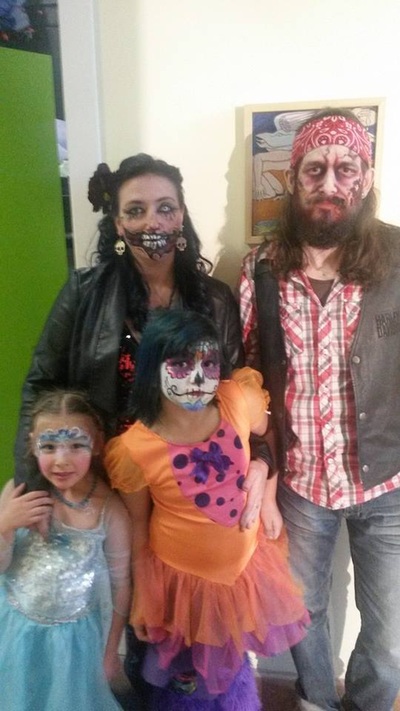
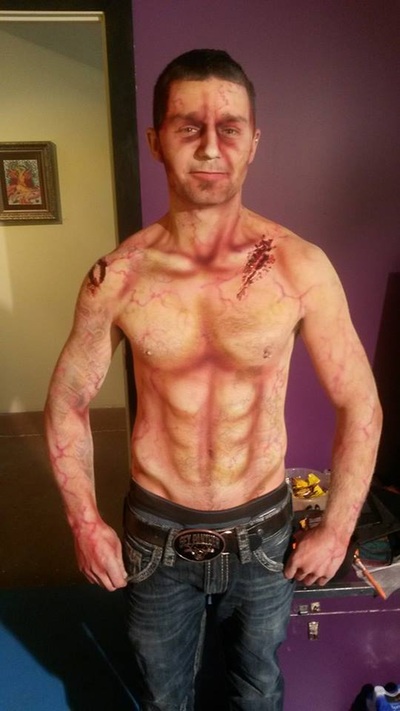
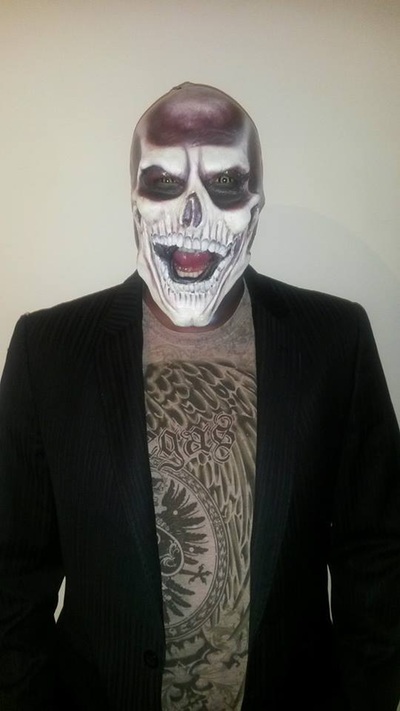
Halloween this year was a great success.
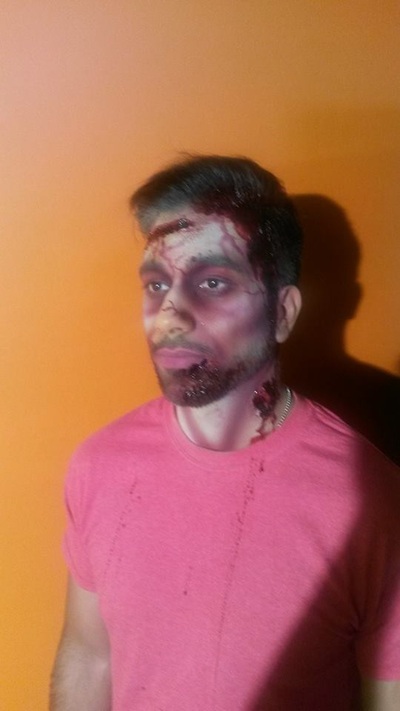
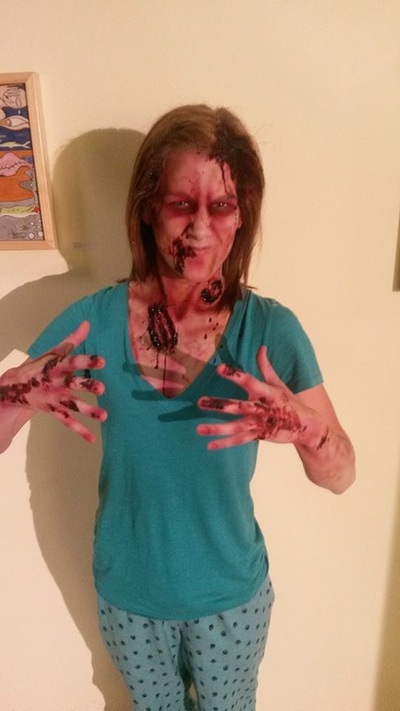
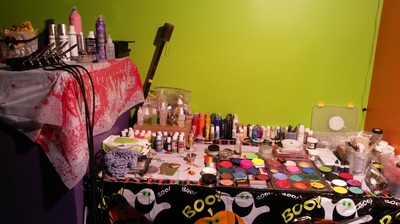
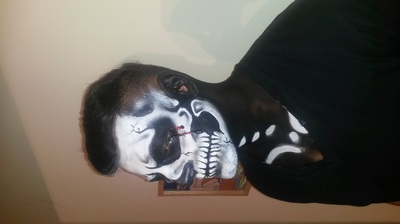
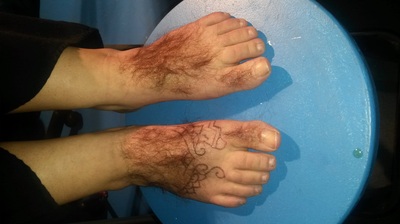
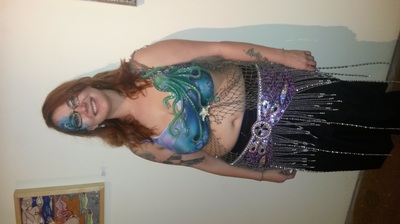
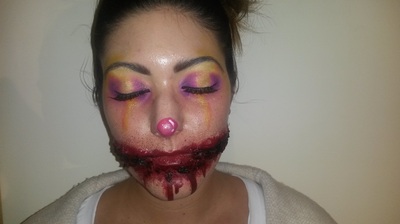
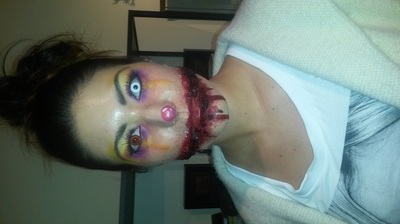
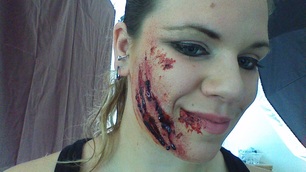
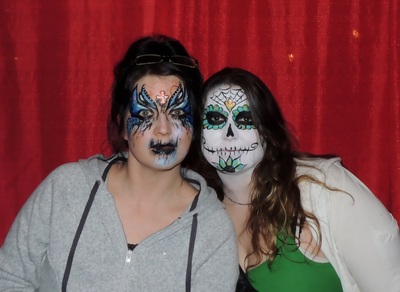
Spanning 2 days I was visited by 16 people in my new studio space. It was really awesome to try out the space for clients instead of just sculpting projects. In the future I will be offering it up as a place for clients to come to me for workshops, events or individual applications. As for the makeup the part that is really exciting I found zombies and skeletons to be the most popular looks this year. I finished a total of 4 zombies, 3 sugar skulls, 1 realistic style skull, 1 prosthetic ( foam latex) skull, 2 creepy clowns, 1 vampire, 1 large tattoo cover, 1 spiderwoman half body paint, a set of hobbit feet, an Elsa crown and an partridge in a pear tree. Well not so much the last one but I did sculpt an octopus bra shirt. Which will be the subject of a later blog post. Before we get to some pictures please keep in mind that I had to turn a lot of people down this year in the last few weeks leading up to Halloween so please if you want your makeup done by me next year remember to book early.
1 Comment
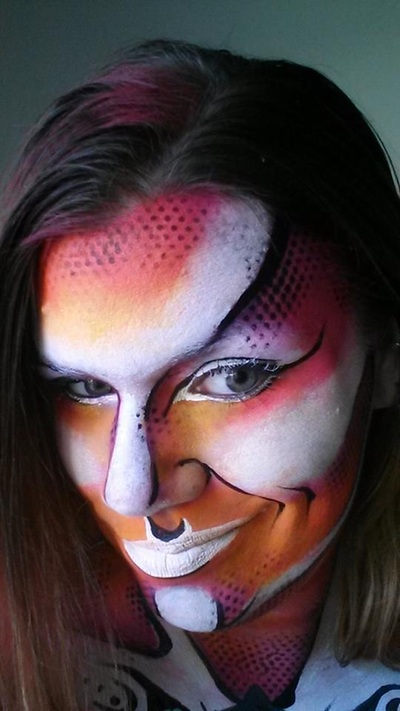
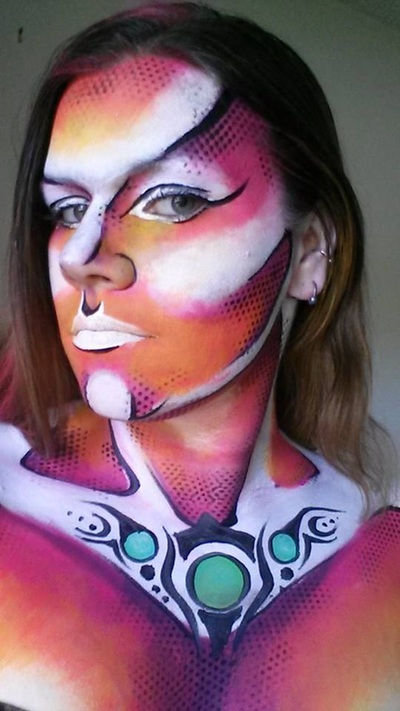
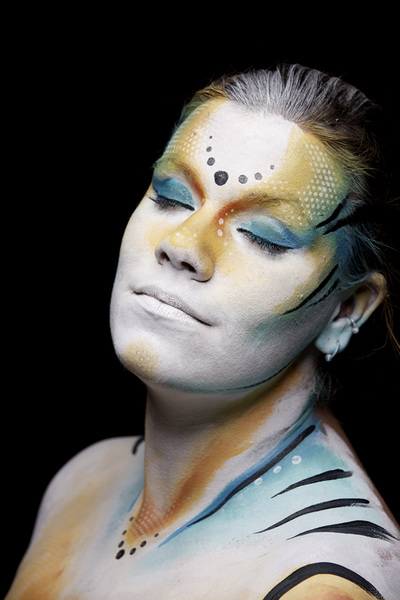
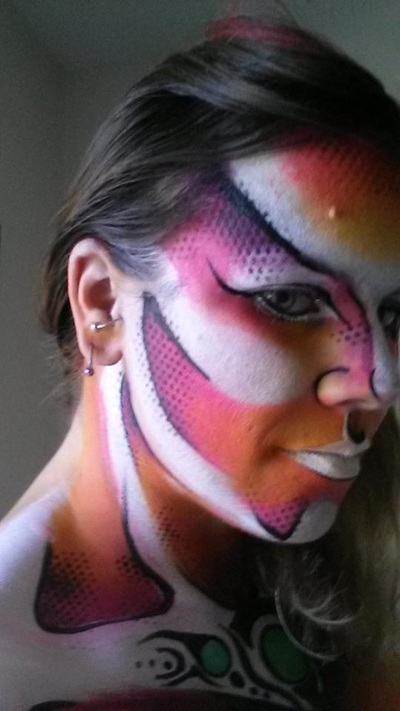
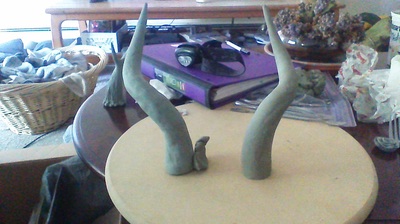
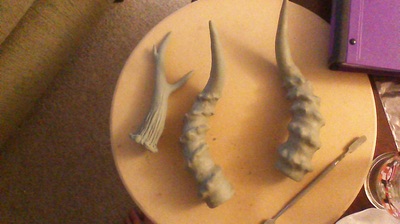
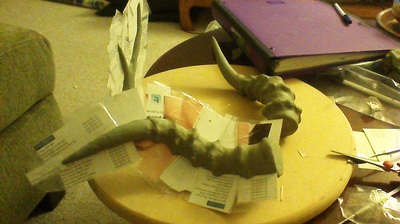
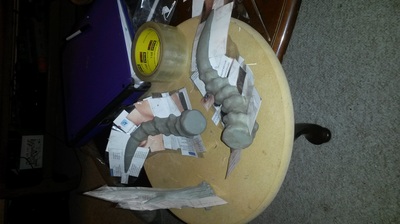
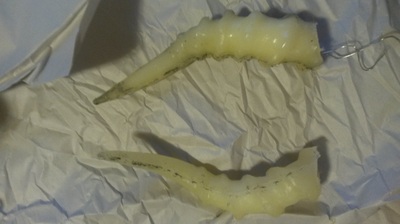
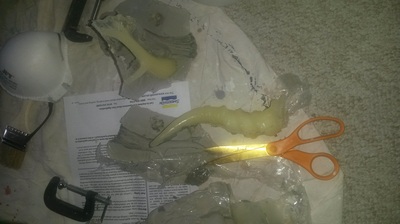
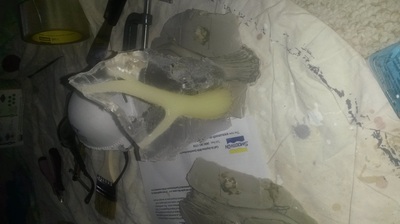
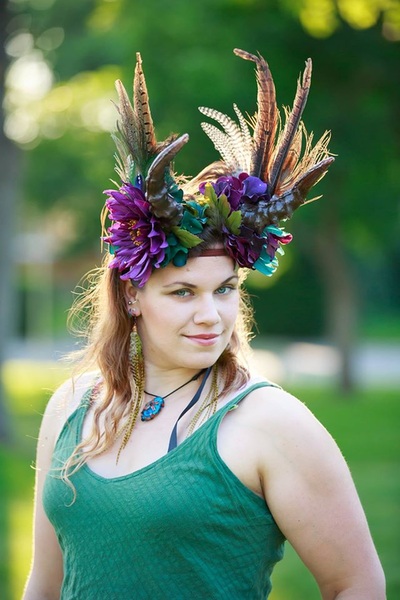
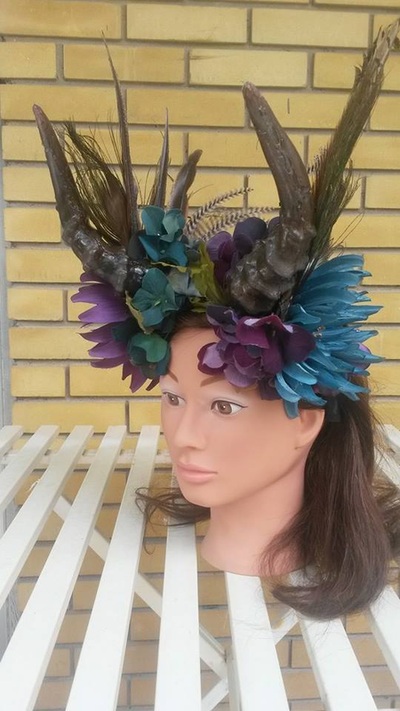
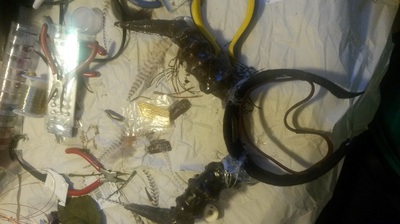
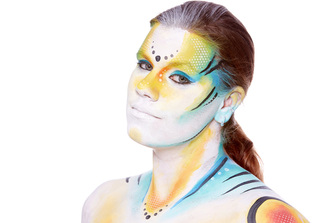 Well like most makeup artists sometimes for a variety of reasons I end up doing a lot of makeup looks on my self. They are not really my favorite for portfolio works but I do like to share them. This blog is the perfect place. I have pictures up from the last 2 looks I did. They are similar in feeling but have different colour schemes. I also did them the same day and only half of them were taken on a good camera by somebody who knows what they are doing. The other half were me with a phone. If there is anything you want to see like a demo video or a tutorial or just some characters you want to see on my face let me know and I will try to do it for you. 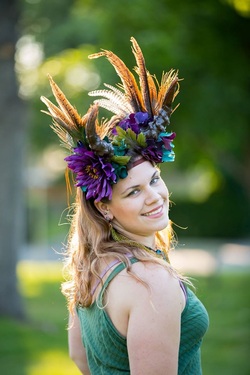 As some of you may know I have been working on a new project. Part of it was trying out some new molding materials that I plan on using for a big project that I plan to start moving on in Aug… sorry but that one is all hush hush till I am done. I promise it will be worth it. This project however was inspired one night while planning for my week of body painting at motion notion. I am really proud of how they turned out and would like to share the process Stage one was deciding what type of horns to make a friend requested deer antlers and I decided on impala inspired antlers for myself. Once I had decided I looked up some pictures and got to sculpting. The freshly sculpted horns ca be seen in the picture below and are made of a sulfur free oil based clay. After the plastic was fully cured I was able to crack open my molds and clean the clay out of the middle. From there I sealed them back together and poured up the final product with a slightly flexible urethane plastic. Once the horns were out of the mold and the edges trimmed I was
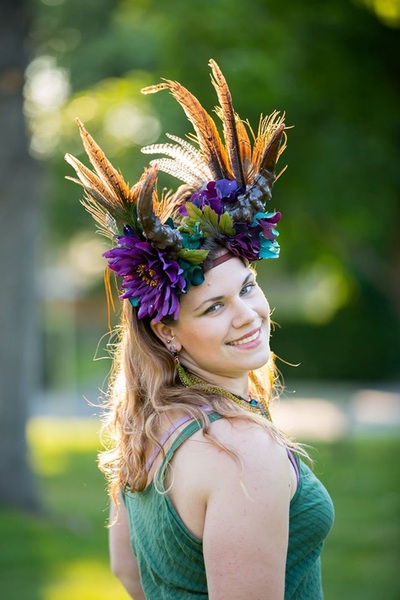
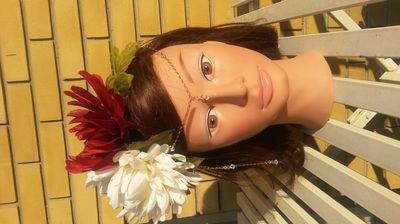
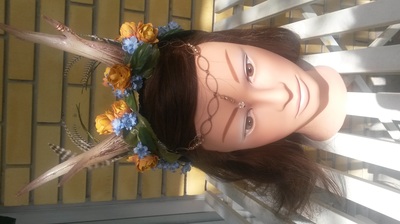
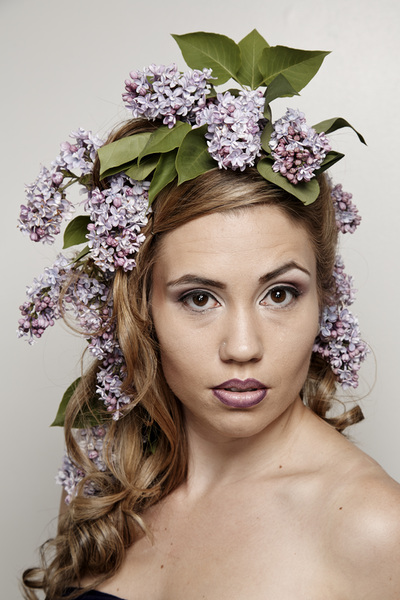
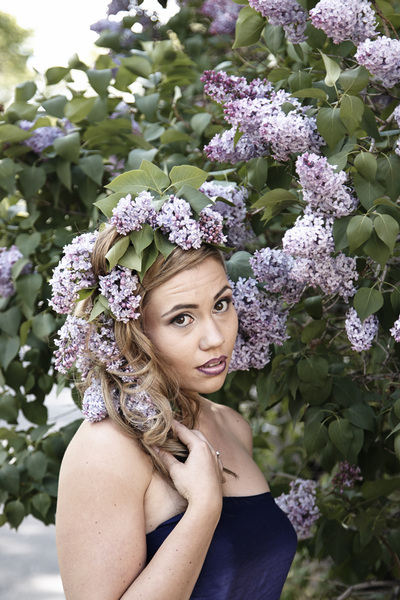
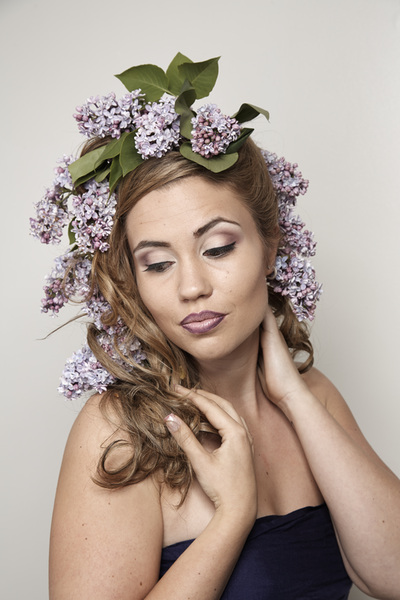
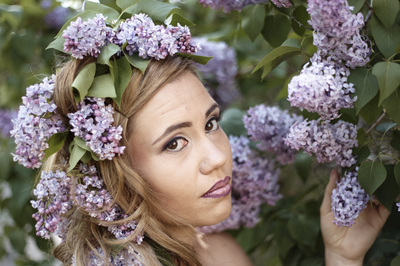
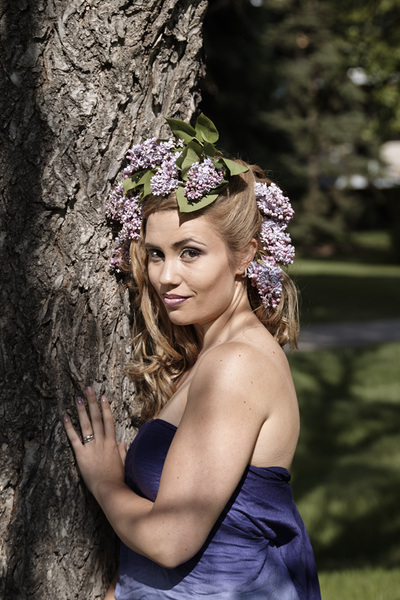
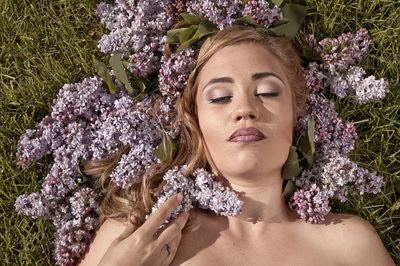
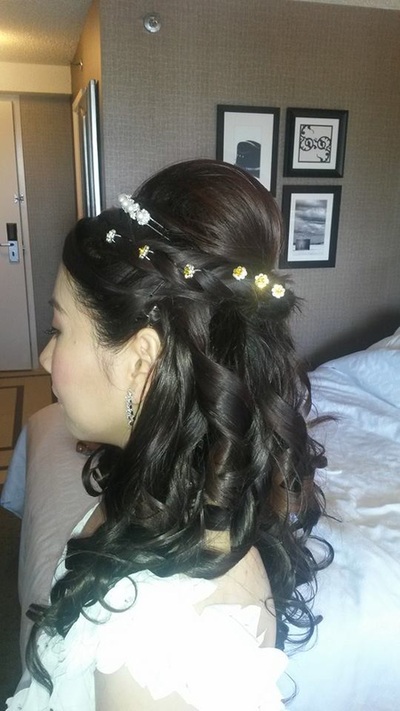
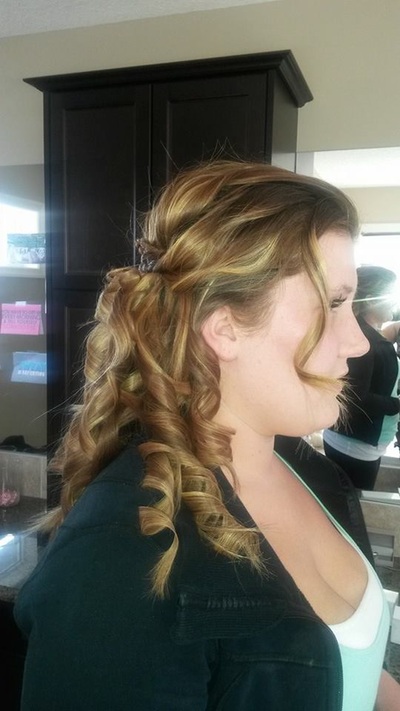
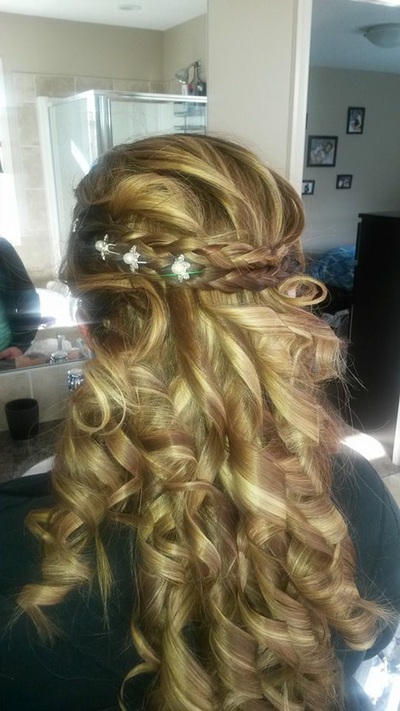
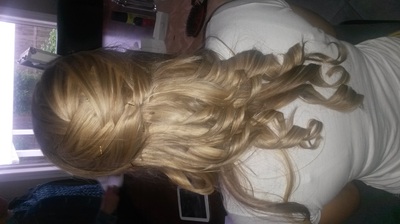
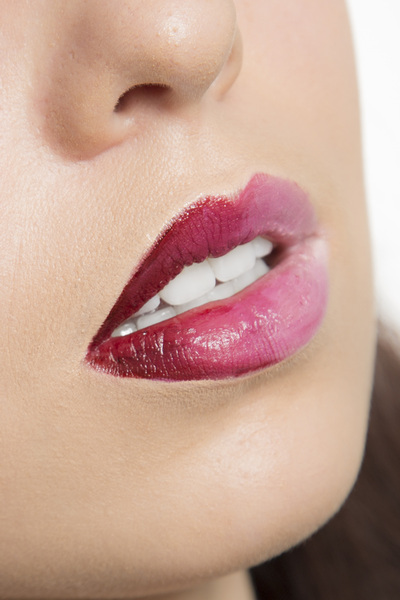
able to paint and start building the headpieces. After making a hue mess in my kitchen I had finally applied enough glue rhinestones flowers and feathers to make a finished piece. In the end I made 3 one with no horns made as a warm up of sorts while waiting for the weather to be nice enough to paint outside, A small more delicate pair for my friend and a large all out pair for myself. 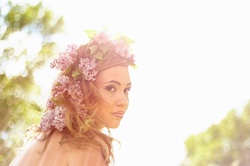 With spring finally here and the lilacs in full bloom it became obvious a few weeks ago that a lilac themed photo shoot was in order. Armed with a bucket and some clippers I set off to my parent’s back yard to acquire the necessary flowers. Once my fantastic model Sarah Taylor arrived it was just under 2 hours work to come up with a purple themed makeup featuring an ombre lip and to fill her hair with as many flowers as it would hold. After hair and makeup it was up to Barry Armstrong photographer extraordinaire to capture the days events. We soon finished with indoor pictures and seeing as the rain had been nice enough to hold off just a bit longer we ventured outside to take some pictures in the grass and with a conveniently located lilac bush. A successful day in all my house smelled wonderfully of lilacs and we had a lot of fun. Well last Summer I got to do hair and or makeup for over 20 brides and bridal parties and I managed to get almost no pictures of it. I get so caught up in the day and making sure from my end everything is just perfect that I forget to snap a photo. This year I bring you a collection of hair trials. The weddings have not yet begun in full force but I have done quite a few hair trials so far. To prevent myself from forgetting to ever post some wedding pictures here are a few pictures od hair I have done this season. As you can see this season the half up do with curls is very popular. It gives a lovely romantic look and allows girls with thick hair to lessen the weight on their heads while still keeping hair back from the face. To make your hair unique think about adding braids, jewels, patterns and other accents to make your hair special just for you,
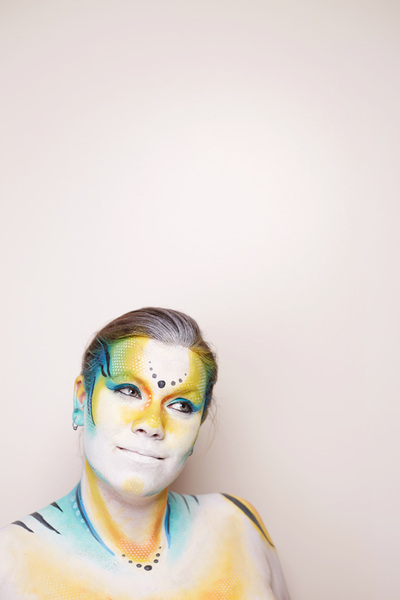
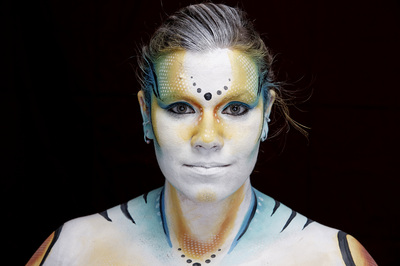
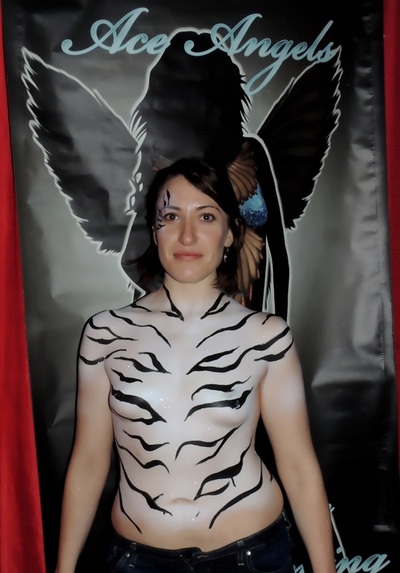
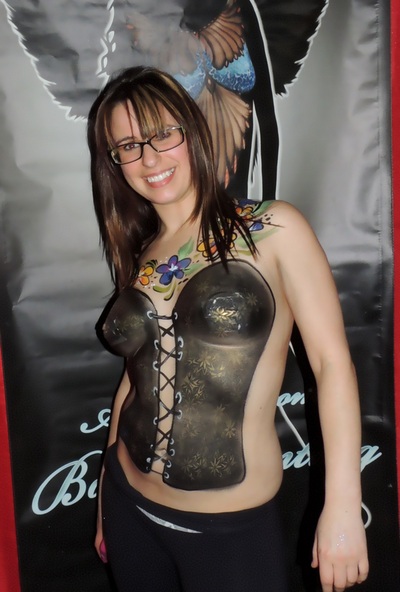
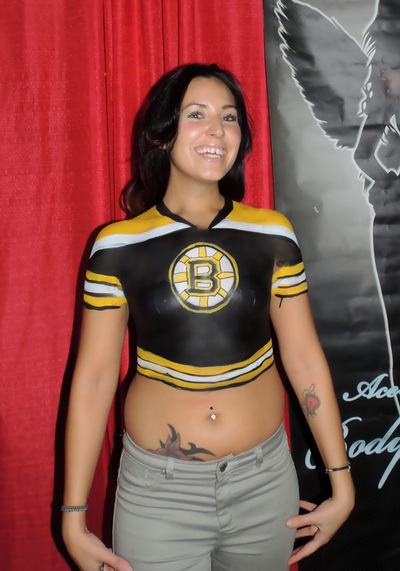
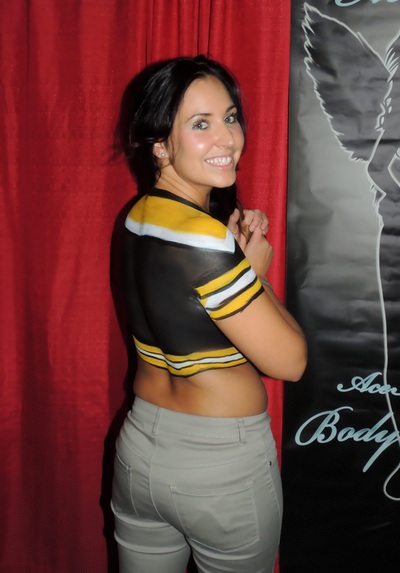
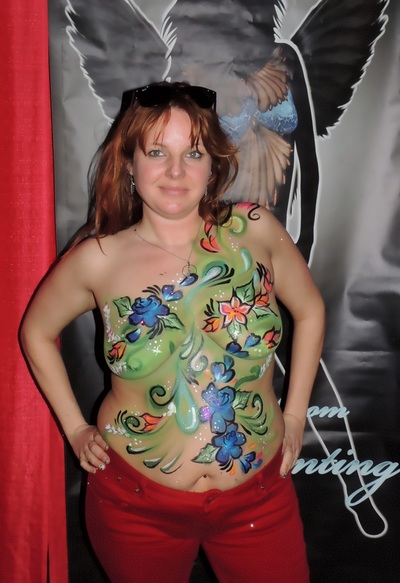
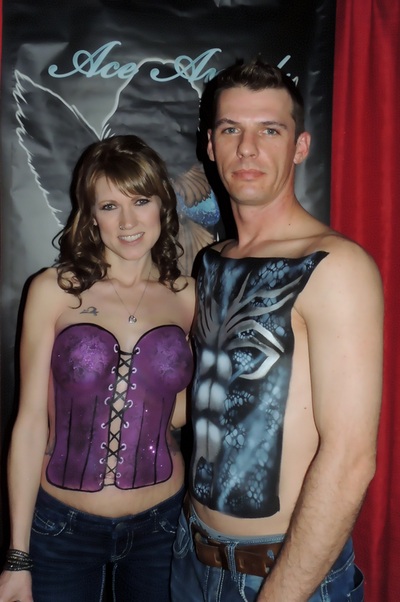
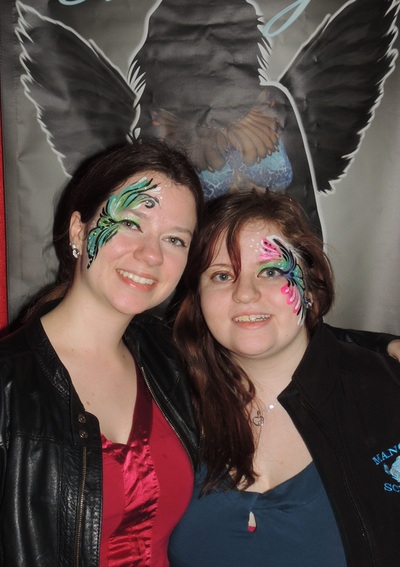
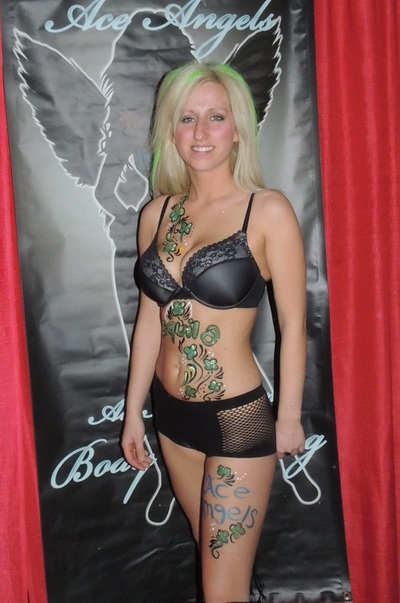
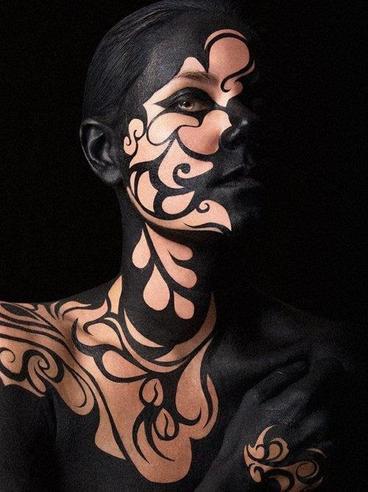
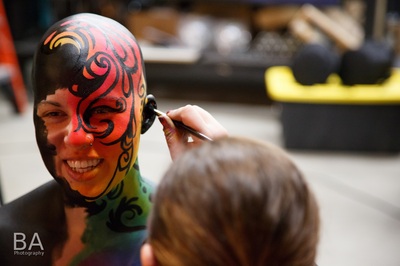
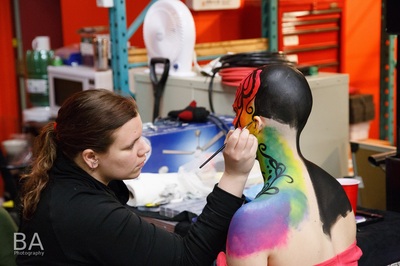
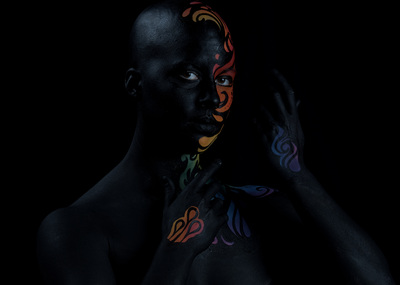
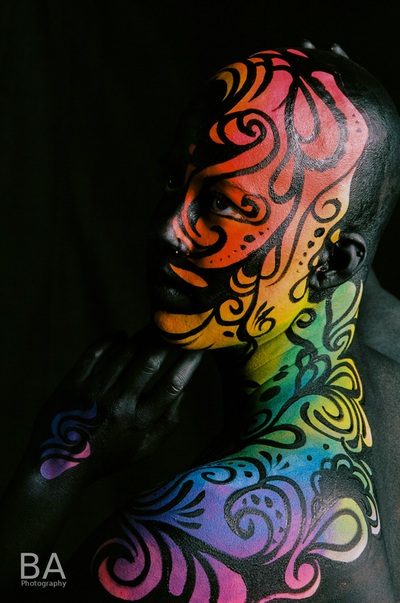
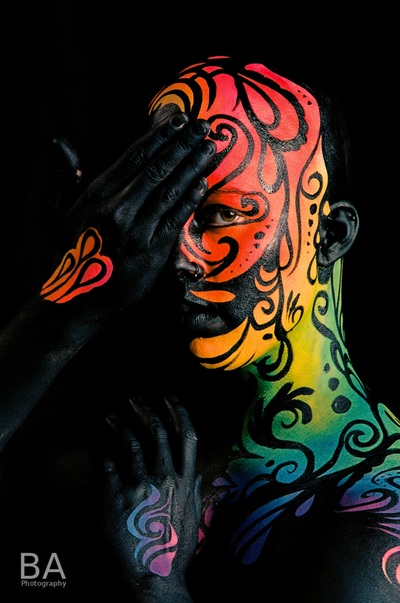
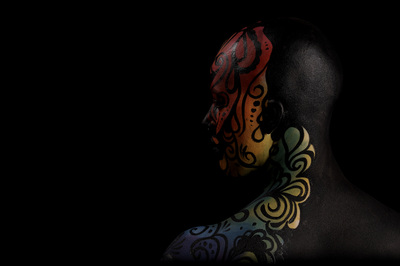
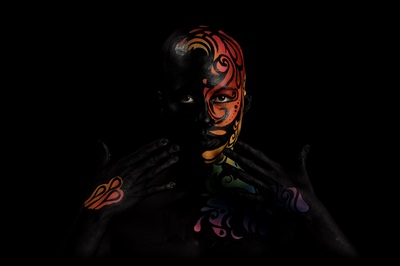
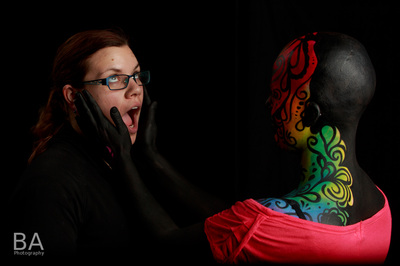
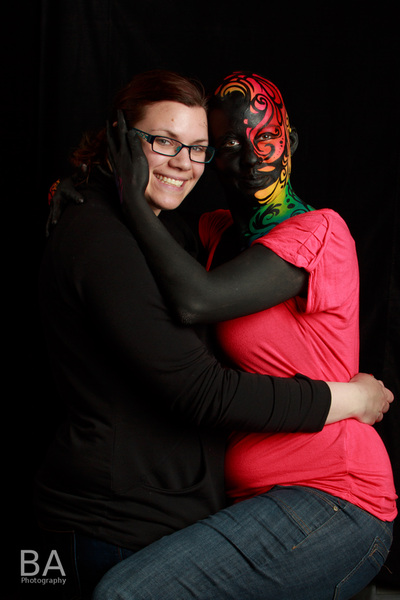
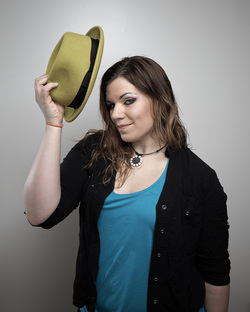 It was a year ago today that I drove home from my lab job for the last time. The last time I had a full time job. The same day I officially became a full time makeup artist. It has been a really interesting year. There have been brides and photo shoots, corporate events and birthday parties, zombies and body painting. I had my first opportunity to work on a union film set and out of town work road trips. I want to thank all my family and friends for believing in me especially on the days I didn’t. J it has been great year and I can’t wait to see what the next one has in store. 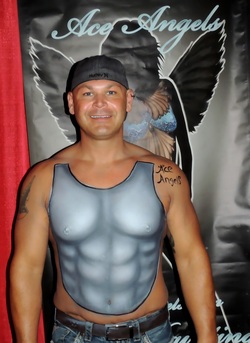 Well it has been an interesting few weeks. One of the highlights has been painting again with ace angels at the taboos show in Saskatoon. This time I had the opportunity to paint with the lovely Amanda from Amandamazing face painting. We had a blast talking people out of their shirts and into our chairs. It is always a great feeling when you have a first time body paint customer and you start off with somebody who is nervous and self conscious of their body and you end up with somebody happy to walk around in nothing but their own skin and some paint. Here are a few examples from the weekend A few weeks ago I did a body paint photo shoot with Barry of BA Photography and Takalonti. I made a promise to myself this year to do a creative project every month so here it is. This shoot was inspired by the following picture I am not sure who did this one or where it came from but I loved the contrast between the skin and the sharp black lines. I am a bit more of a colour loving type and decided to do a colour gradient take on this idea. I loved the smooth look of Takalonti’s shaved head and decided she would be the perfect model for the project. We got together on a Saturday morning and I started to sponge on a rainbow. With the rainbow in place I was able to just go wild. I did not have any reference pictures with me I just used the curve and flow of her head and neck to guide my design choices. It might seem like a bad choice to paint without a guide but I find in cases where the theme of the design is flow it is important not to limit yourself to a drawing and to work with your models unique body to get the best fitting pattern possible. When I was finished with the painting it was up to Barry and Takalonti to fully capture the look., Graceful lines and motions created by our fantastic model were captured using both film and digital cameras. To end it off here are a few shots of us playing around just before we packed up.
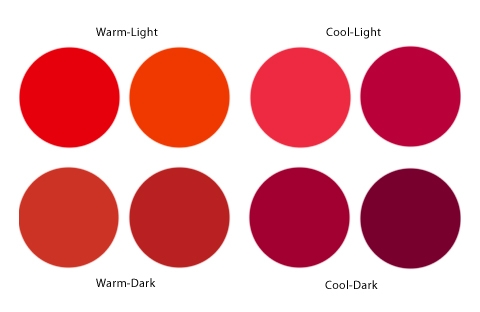
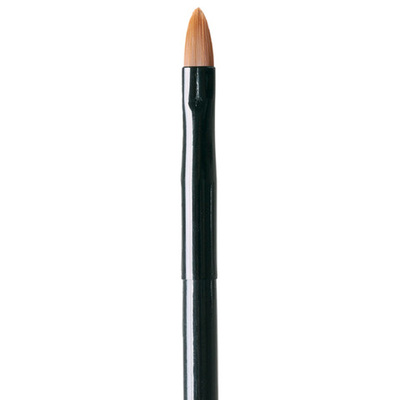
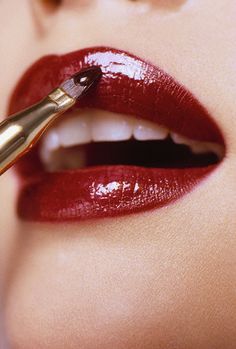
How to achieve a perfect Valentines day red lip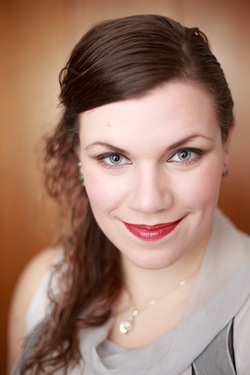 When you are considering doing a red lip it is important to not over do the makeup for the rest of your face. A flawless completion with neutral eyes and a light blush is all you need to compliment the center piece. Your lips. There are a lot of rules and guidelines about what colour of red to wear with your skin type. When you are looking for a red consider the tone of the lipstick if it is more on the warm side or on the cool side. For the most part a cooler red will seem a bit more blue and a warmer red will be a bit more on the orange side. You want to then see what undertone your skin has. For the most part it will be on the pink or yellow side. If you have a more pink undertone it is best to try and go with a cool red. If have a yellow undertone a warm red is more suited. These are just guidelines I recommend trying a few colours to see what you are most comfortable with. Below is an example of warm Vs cool reds The first step to creating a perfect lip is to make sure you hydrate. It is important to apply a lip balm and even to exfoliate our lips to make sure they are soft and smooth for the best lipstick application. Once you have your lips nice and moisturized it is a good idea to line them with a clear lip liner. Something waxy that will help prevent the red from bleeding. If your lips are prone to bleeding it can be a good idea to line them again with a liner that matches your lipstick but it is not always necessary. When applying the lipstick it is best to use a lip brush to ensure you will have a crisp line and even colour. something small but tapered is best. After you have applied your lipstick a great trick to keep your lipstick in place, the line crisp and ensure you lips pop is to apply a thin line of concealer just around the outside of your lipstick. This helps provide a sharp contrast in colour and will help keep your lipstick in place.
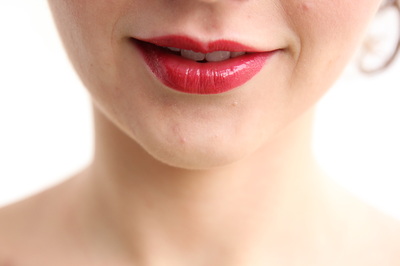
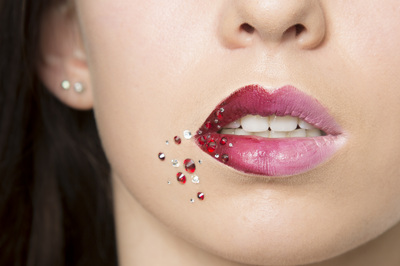
Now you can decide if you are finished and happy with a matt look or if you want to bump it up with a gloss. A gloss can also be a great way to alter your lip colour slightly if you have picked a red that brighter or darker than you would like. The following are a few examples of red lips and faces I have done |
Details
Tracy Falukozi
Archives
November 2014
Categories
All
|



 RSS Feed